WordPress is a very popular CMS (Content Management System) and if you wish to install wordpress on digital ocean you have to follow these steps for a successfull installation.
Step 1: Creating a Droplet
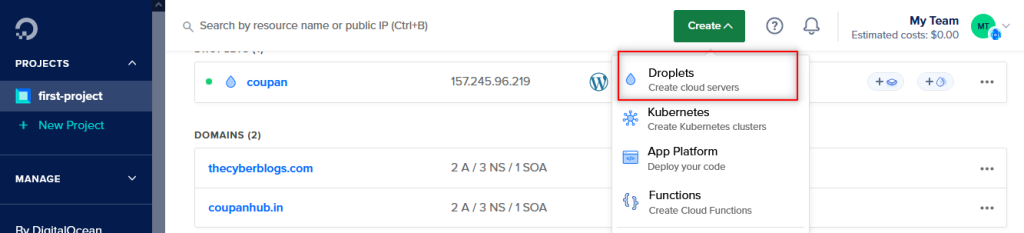
First of all login to your digital ocean account and you will be redirected to the dashboard. Now chick on this create button and after that click on droplet.
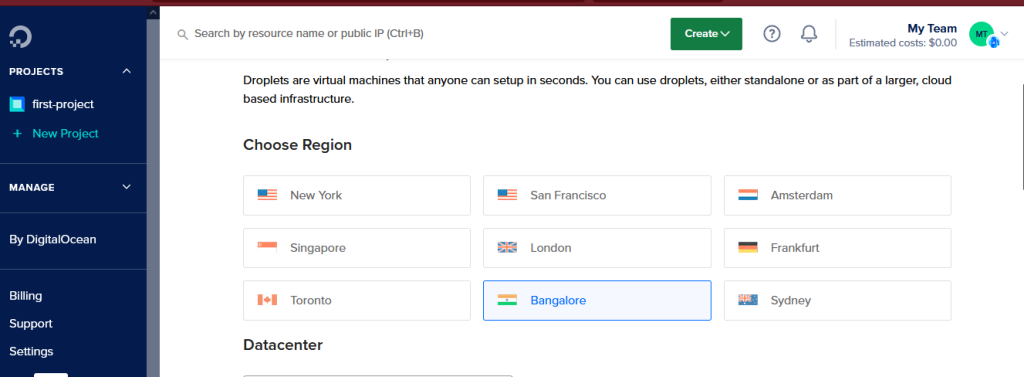
After that choose the data center which is nearest to you.
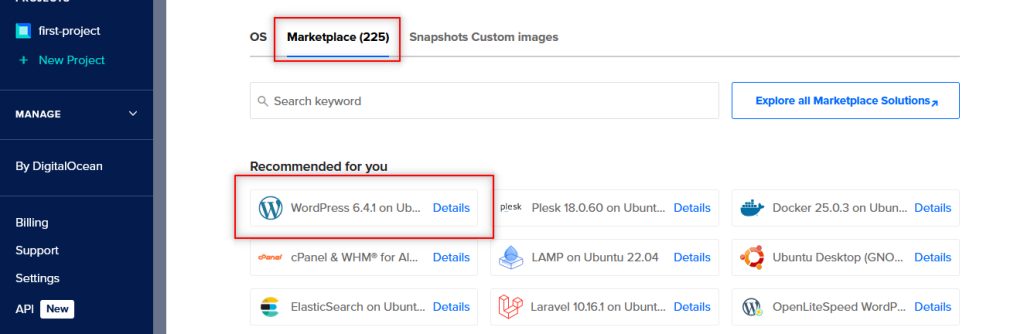
then select marketplaces and choose wordpress as shown in the image below.
Then choose droplet type there are many options here like the basic plan, general purpose, CPU-Optmized, Memory-Optmized, Storage-Optmized.
Then you can also choose CPU Options you can choose from 3 types, Regular, Premium Intel and Premium AMD.
You have to also select the plan as shown in the image below.

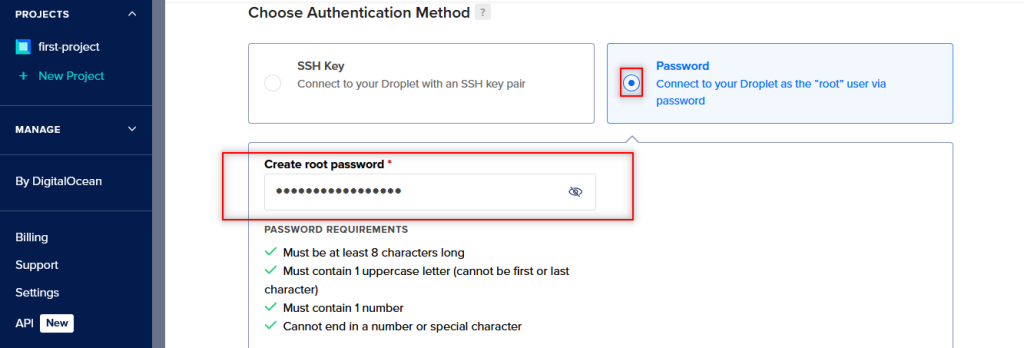
You have to choose the authentication method recommended method is to choose authentication with ssh keys, but for simplicity I will be going with password based authentication. Create a strong password because it will be the root password for your machine.
After doing all this things you can change the hostname of the droplet and then click on create.
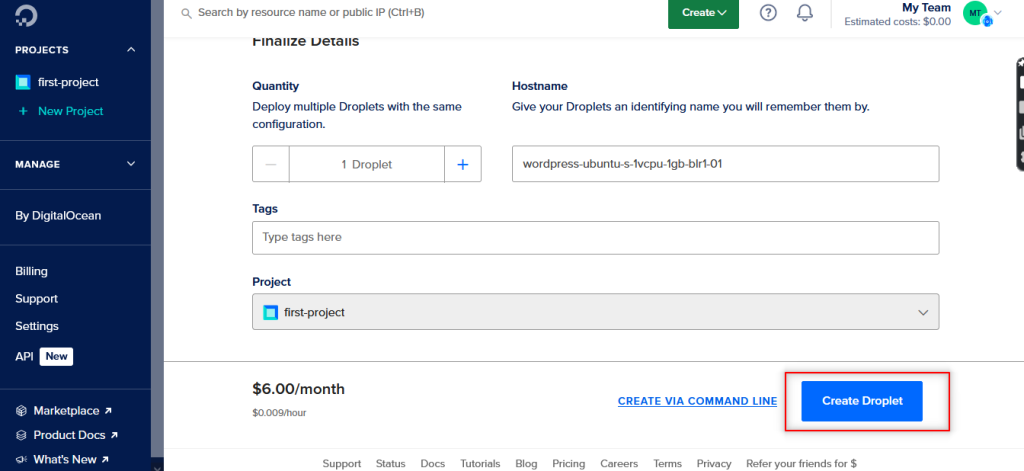
Your droplet will be created in some minutes.
Step 2: Setting Up WordPress
After following step 1 correctly, Your droplet will be created and now you have to click on the here as shown in the image below.

Then after that you have to click on the console button to log in to the server.

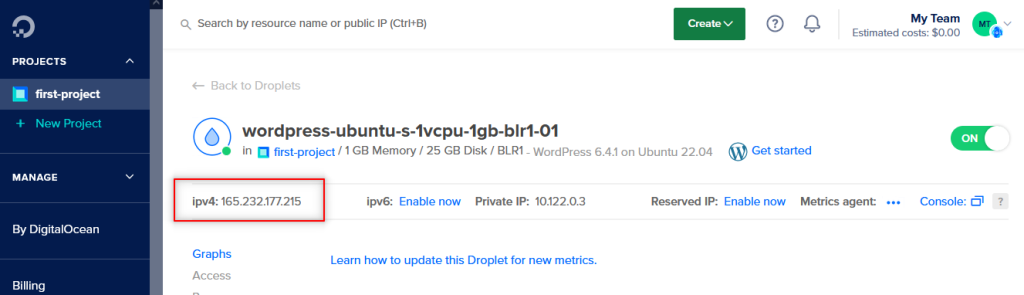
After logging in you have to copy the IPV4 address and paste it into the browser.
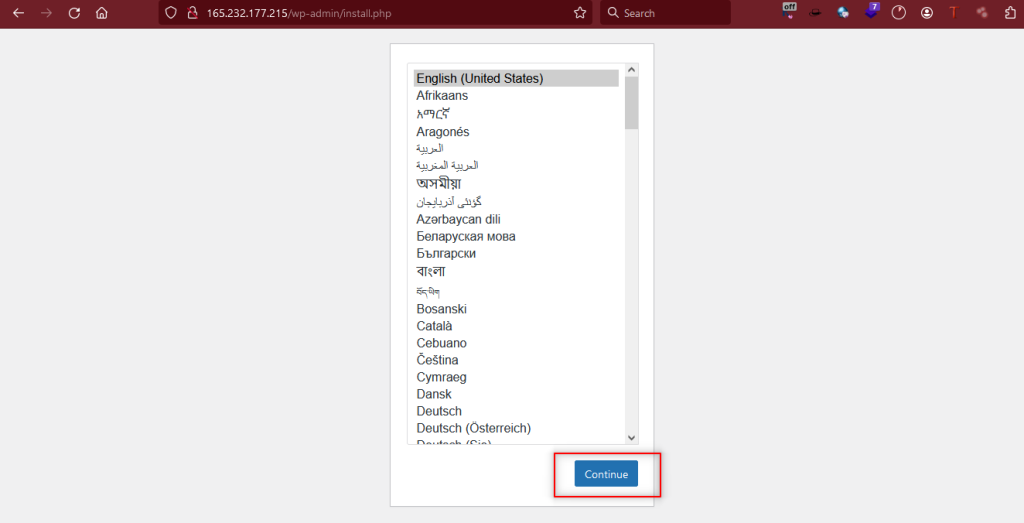
After opening the address in the browser you will see the wordpress installation wizard. You have to select your language and then click on continue.
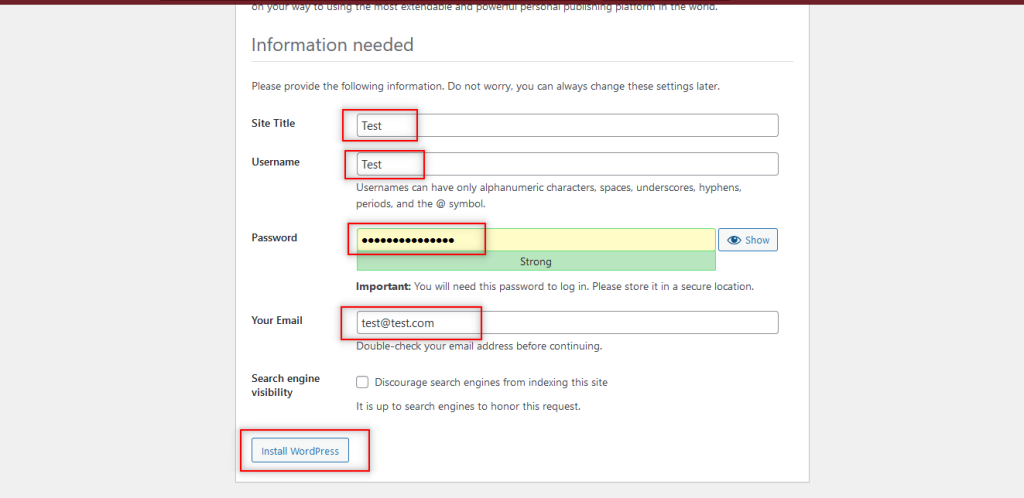
Then after that you have to enter Site Title, Username, Password and email address in the next page as shown in the image below. After that you have to click on install wordpress.
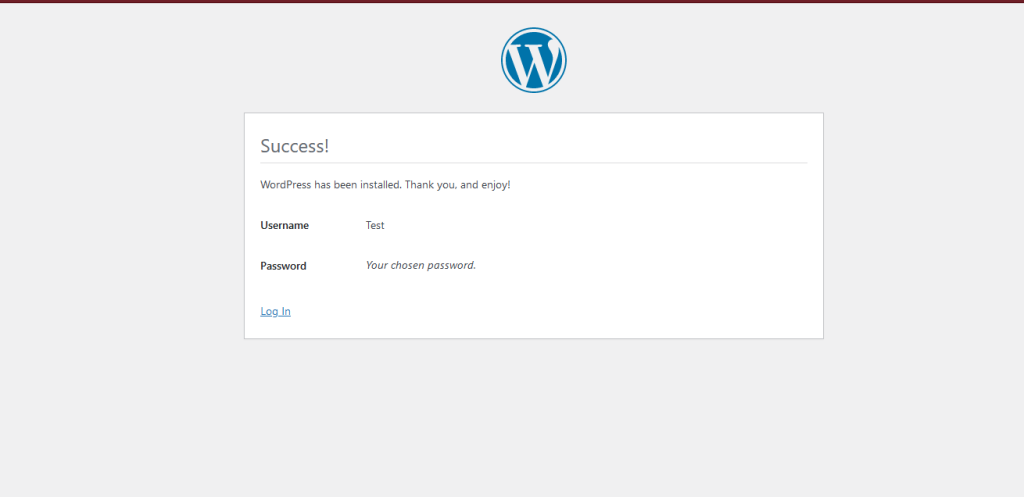
Now you will be redirected to this page. You have to click on login to login to wordpress dashboard.
Login using your creds in the admin login page.
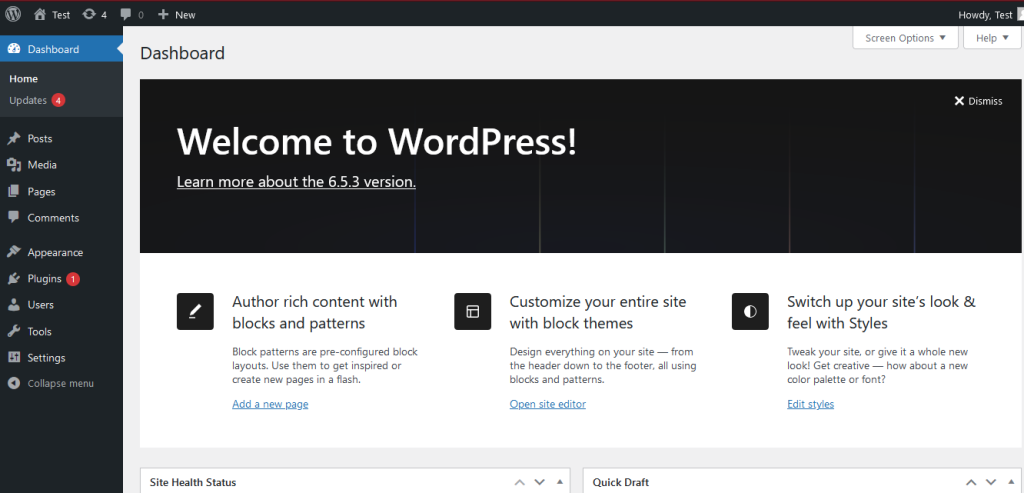
Now you can see the wordpress admin dashboard
Step 3: Connecting Domain Name with WordPress
Now to connect your domain with the wordpress you have to change or update the nameservers with nameservers of digital ocean. The nameservers are as follows
- ns1.digitalocean.com
- ns2.digitalocean.com
- ns3.digitalocean.com
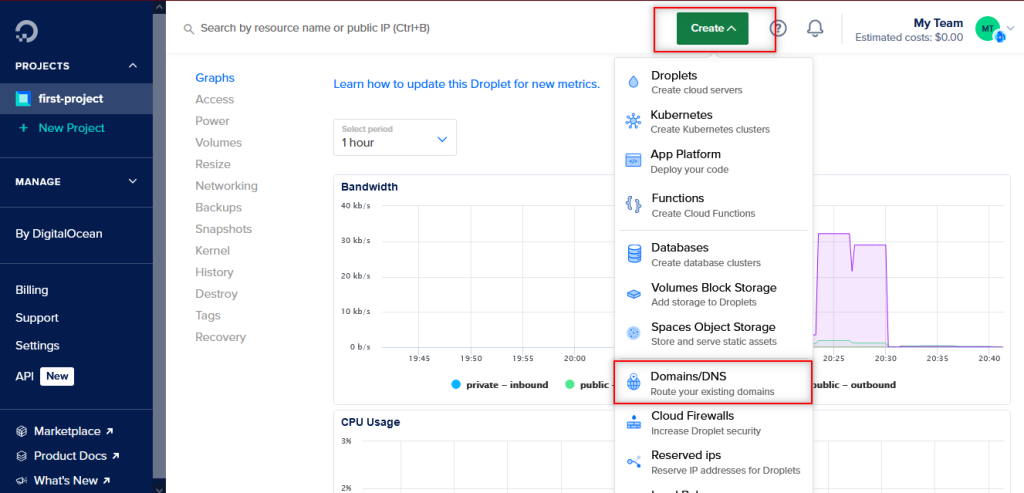
After updating the nameservers you have to wait for the nameservers to be updated. After that you have to login to digtal ocean and then click on create and then click on Domains/DNS as shown in the image below.
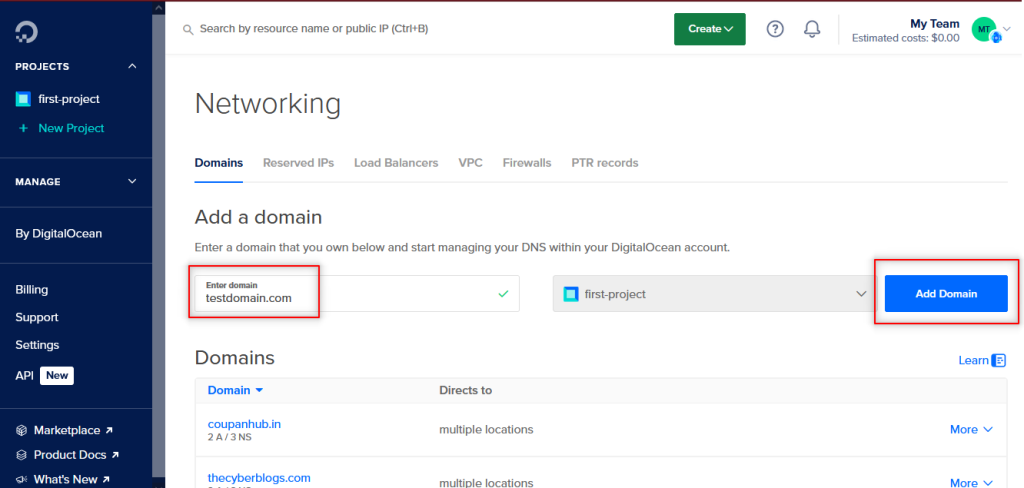
And then a another page will open, you have to enter your domain name and select the project name and click on add domain button as shown in the image below.
Now you have successfully connected your domain with your wordpress and now if you open your domain name in the browser you will see it is successfully connected with the domain.